DIY pedalboard - cheap and easy way (56K warning)

tany

New member
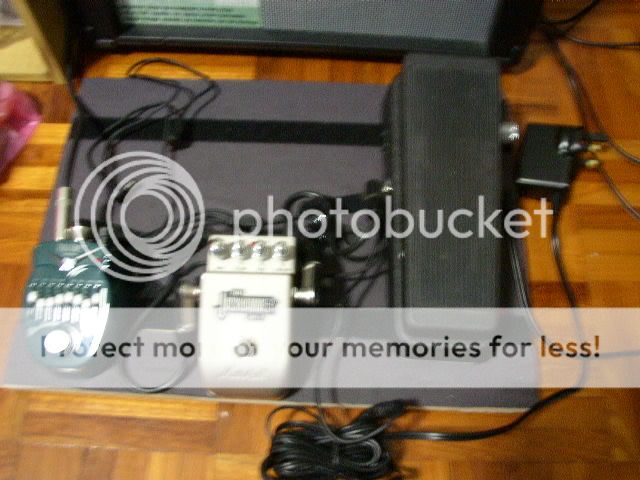
hi guys! i just finished building my DIY pedalboard, took about 3hours, cost not more than $15 ($12.35 to be exact)

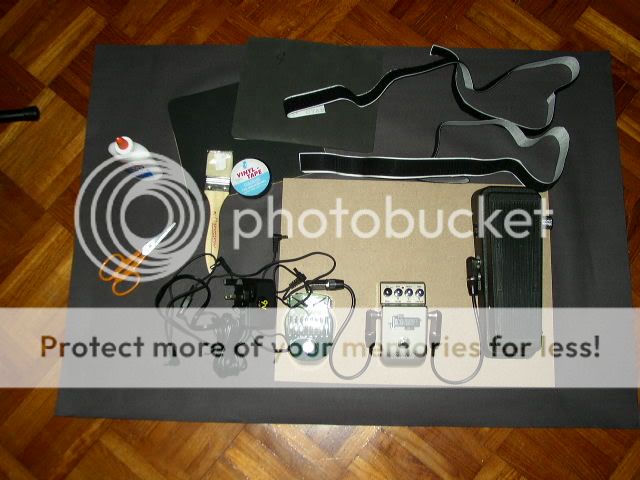
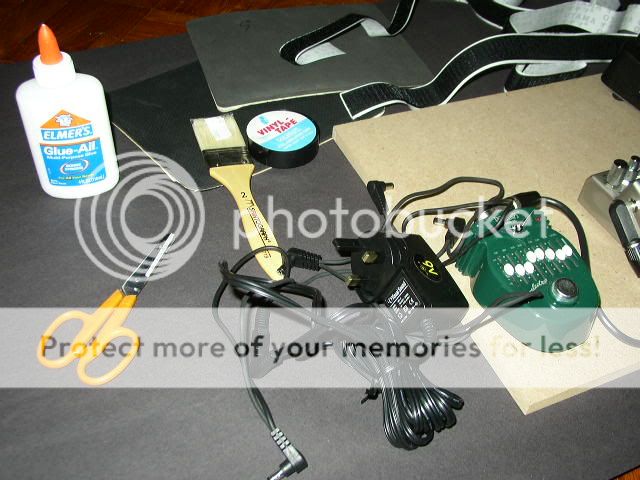
here's my list of stuff i bought from Art Friend

chipboard (12x16inch) $3.80
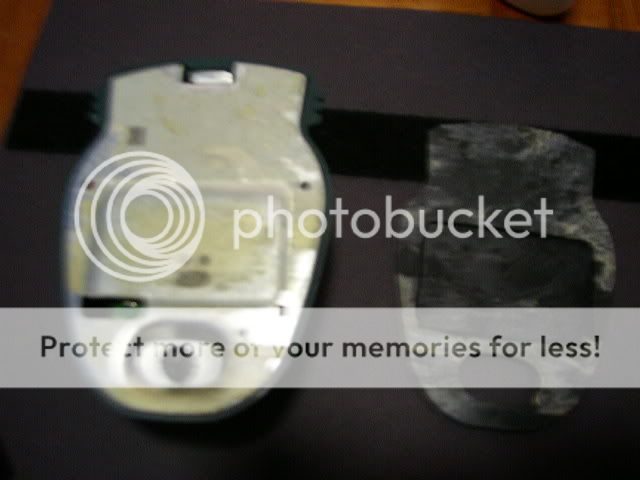
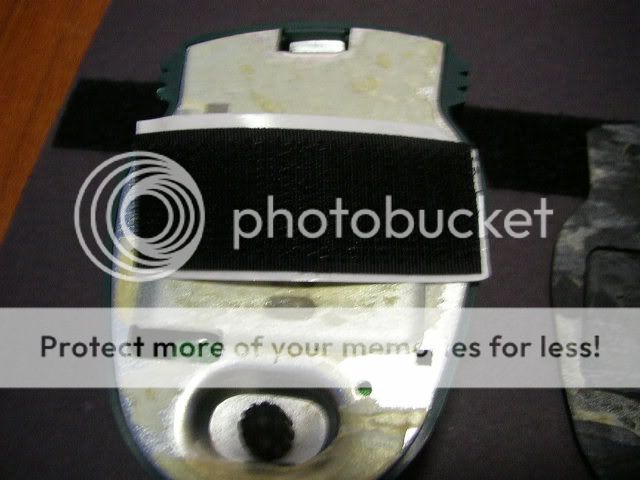
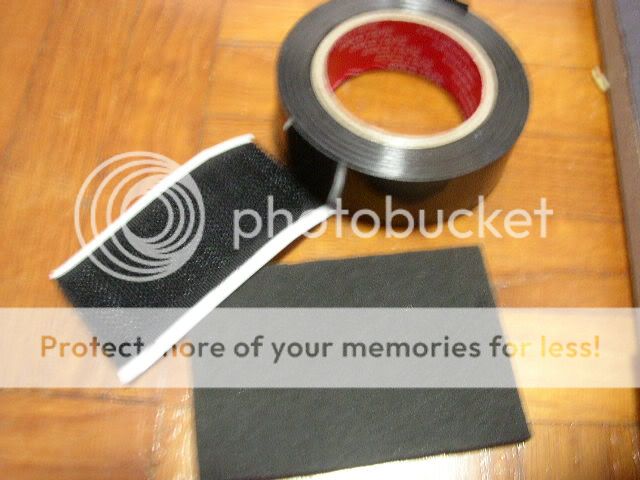
oyama fastening tape 25mm or velcro $3.70
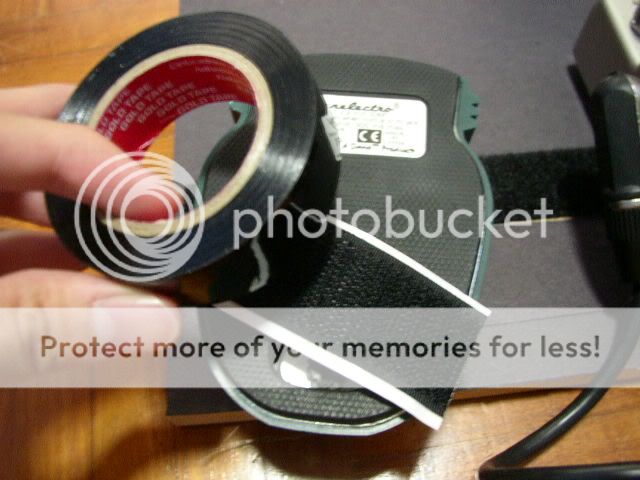
insulating tape $0.60 (i used this as a cheap alternative to ducttape)
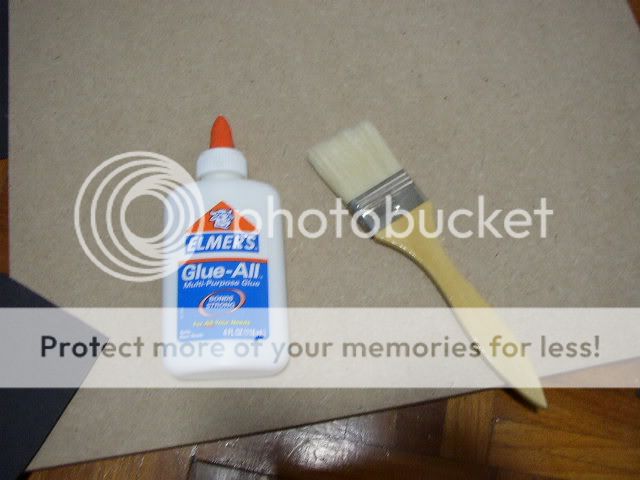
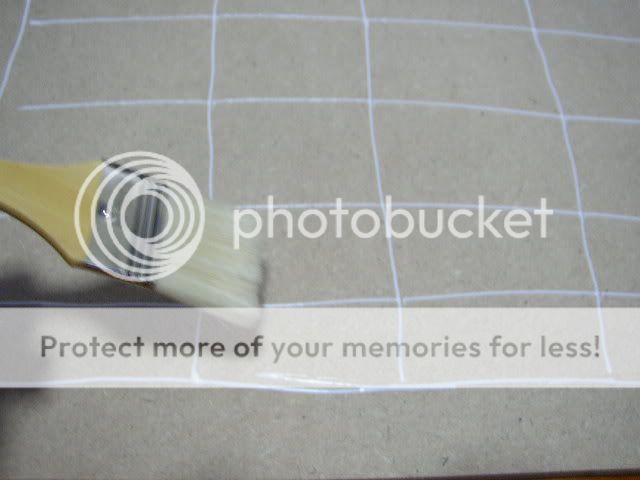
elmers multi-purpose glue $2.30
artist brush $1.10
sugar paper black (23x33inch) $0.30

u see i'm a poor boy bought the cheapest stuff i could see, but turned out just as good!

*p.s. james sorry for the many pix

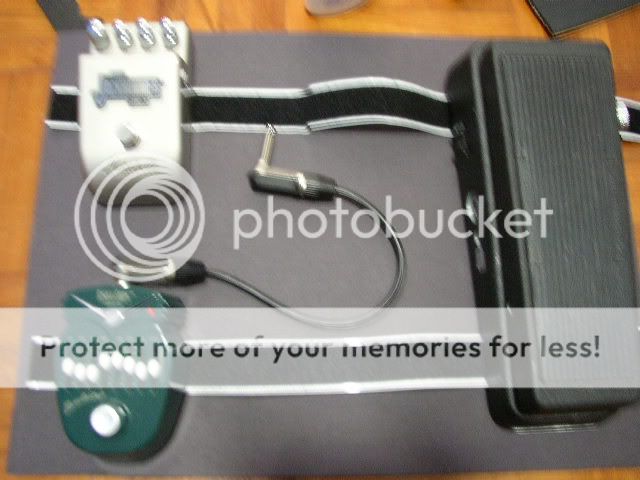
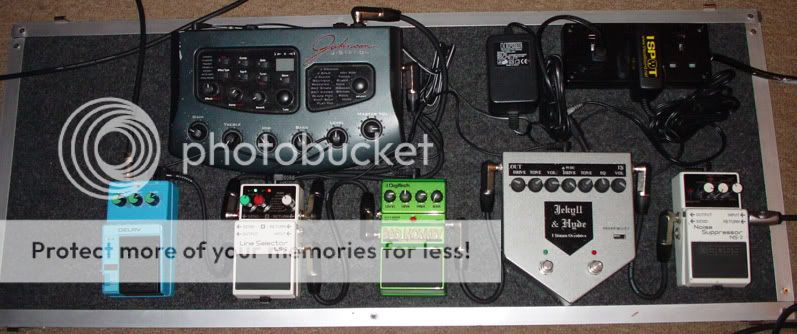
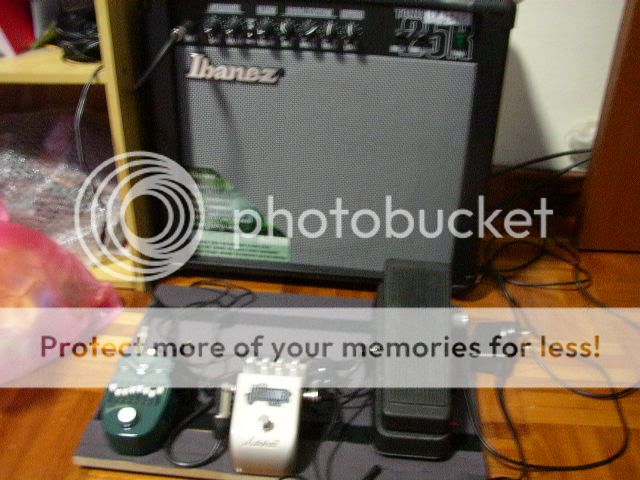
here's the final product:

pedal040.jpg

pedal041.jpg
 
ok this is a step by step (doing my way, just how i do it not professional, but CHEAP :D )

buy the things listed above previous post. OH OH i used some used unwanted mouse pads great for the bottom!

pedal001.jpg

pedal002.jpg

pedal003.jpg


(p.s. dont buy school glue get the multi-purpose glue it's great!)

lay them out

pedal004.jpg

pedal005.jpg


start by drawing outline on the black paper
pedal012.jpg

pedal007.jpg


cut...

pedal011.jpg
 
apply glue on it...not too much, just about 2-3 layers of it...use brush to spread

pedal014.jpg

pedal015.jpg


carefully put the paper onto the block. wait for about 30min to dry. if u have shortage of paper at sides, just add small pieces underneath

pedal016.jpg


while drying, let's prepare other things
pedal018.jpg


peel off mousepad
pedal019.jpg


oops, screwed up, nvm still can use
pedal020.jpg


cut off 4 pieces for edges, 2 from each mousepad
pedal021.jpg


glue them together
pedal023.jpg


i used cloth pegs to bind them, keep them tight! the glue really works wonders!
pedal024.jpg
 
ok time for velcro...

pedal025.jpg

soft side on board
pedal026.jpg

rough side on pedal
pedal027.jpg


BECAREFUL the velcro is super sticky. be very careful, last thing u want ur pedalboard to end up like
pedal028.jpg


so paste like this
pedal029.jpg


when it's done!
pedal031.jpg


u can remove the rubber from the pedal
pedal032.jpg

pedal033.jpg


i chose to leave rubber on, so next time can resell :D
pedal035.jpg


remember the tape and the mousepad? i used them so that my pedals are still in tact :D
pedal036.jpg

pedal037.jpg

pedal038.jpg


attach the velcro -> mousepad -> pedal
i used a lot of tape, and it's super hardy, doesnt come off, but u can peel it off without any disgusting stuff left behind :D

so when it's done, put ur pedals on!
pedal039.jpg


and VOILA!

pedal041.jpg

pedal040.jpg


oh and ya, those 4 paddings, glue them on the underneath at the corners...

cheers! have fun! i did :wink:

materials used - $12.35
time spent - 3hours
satisfaction obtained from DIY pedalboard - priceless 8)
 
Just 1 question, would the black sugar paper that you pasted on to the chip board be strong enough to withstand the force of the velcro after some time of pulling and puting your pedals on the pedal board. Would it be better if you just stick the velcro tape on the chip board without the black sugar paper as it will be stronger as the chip board is solid compare to the sugar paper :)

cheers
 
purplehaze3691 said:
Just 1 question, would the black sugar paper that you pasted on to the chip board be strong enough to withstand the force of the velcro after some time of pulling and puting your pedals on the pedal board. Would it be better if you just stick the velcro tape on the chip board without the black sugar paper as it will be stronger as the chip board is solid compare to the sugar paper :)

cheers

ah...good question

yes it is, but some ppl use it w/o the paper...but it's optional actually, i just used it so it's black, nicer to see instead of wood. they dont sell black wood :lol:

but yup when i pull it off and put it back on many times, when testing, it's still damn strong. just dont PULL that hard! lol, gently mah, ur pedals are precious :D
 
the entire boards made of 1/2" plywood with aluminium edging. heavy as hell but it survived the patented "take and throw" test without so much as a scratch or the pedals even moving.

oh and the delays an old 80's ibanez dl-10. the J&H is the first gen version, the hyde channel is voiced differently. slightly higher gain i believe.
 
bro.. the glue might come off sooner or later. you might want to try using spray mount on your next project ;) there's a 3M one in a black can, that one is SOLID. use it for mounting artwork etc and the stuff stays on.
 
superkicky said:
bro.. the glue might come off sooner or later. you might want to try using spray mount on your next project ;) there's a 3M one in a black can, that one is SOLID. use it for mounting artwork etc and the stuff stays on.

ah ok...thx for the tip...but my next project wont be that soon :wink:

but the glue is cheap so... :lol:
 
maybe you could have painted your wood black first.. no need to use the paper... or spray paint better.. one can of spray paint think <$5.
 
spray paint a bit messy, dun think i can do it...and takes longer to dry though...

but everyone has their own methods, dryfinish's pedalboard is just wood. that is another way of doing but i prefer black 8)

thx for the tip though...but i dunno how to use spray paint LoL
 

Latest posts

Back
Top